
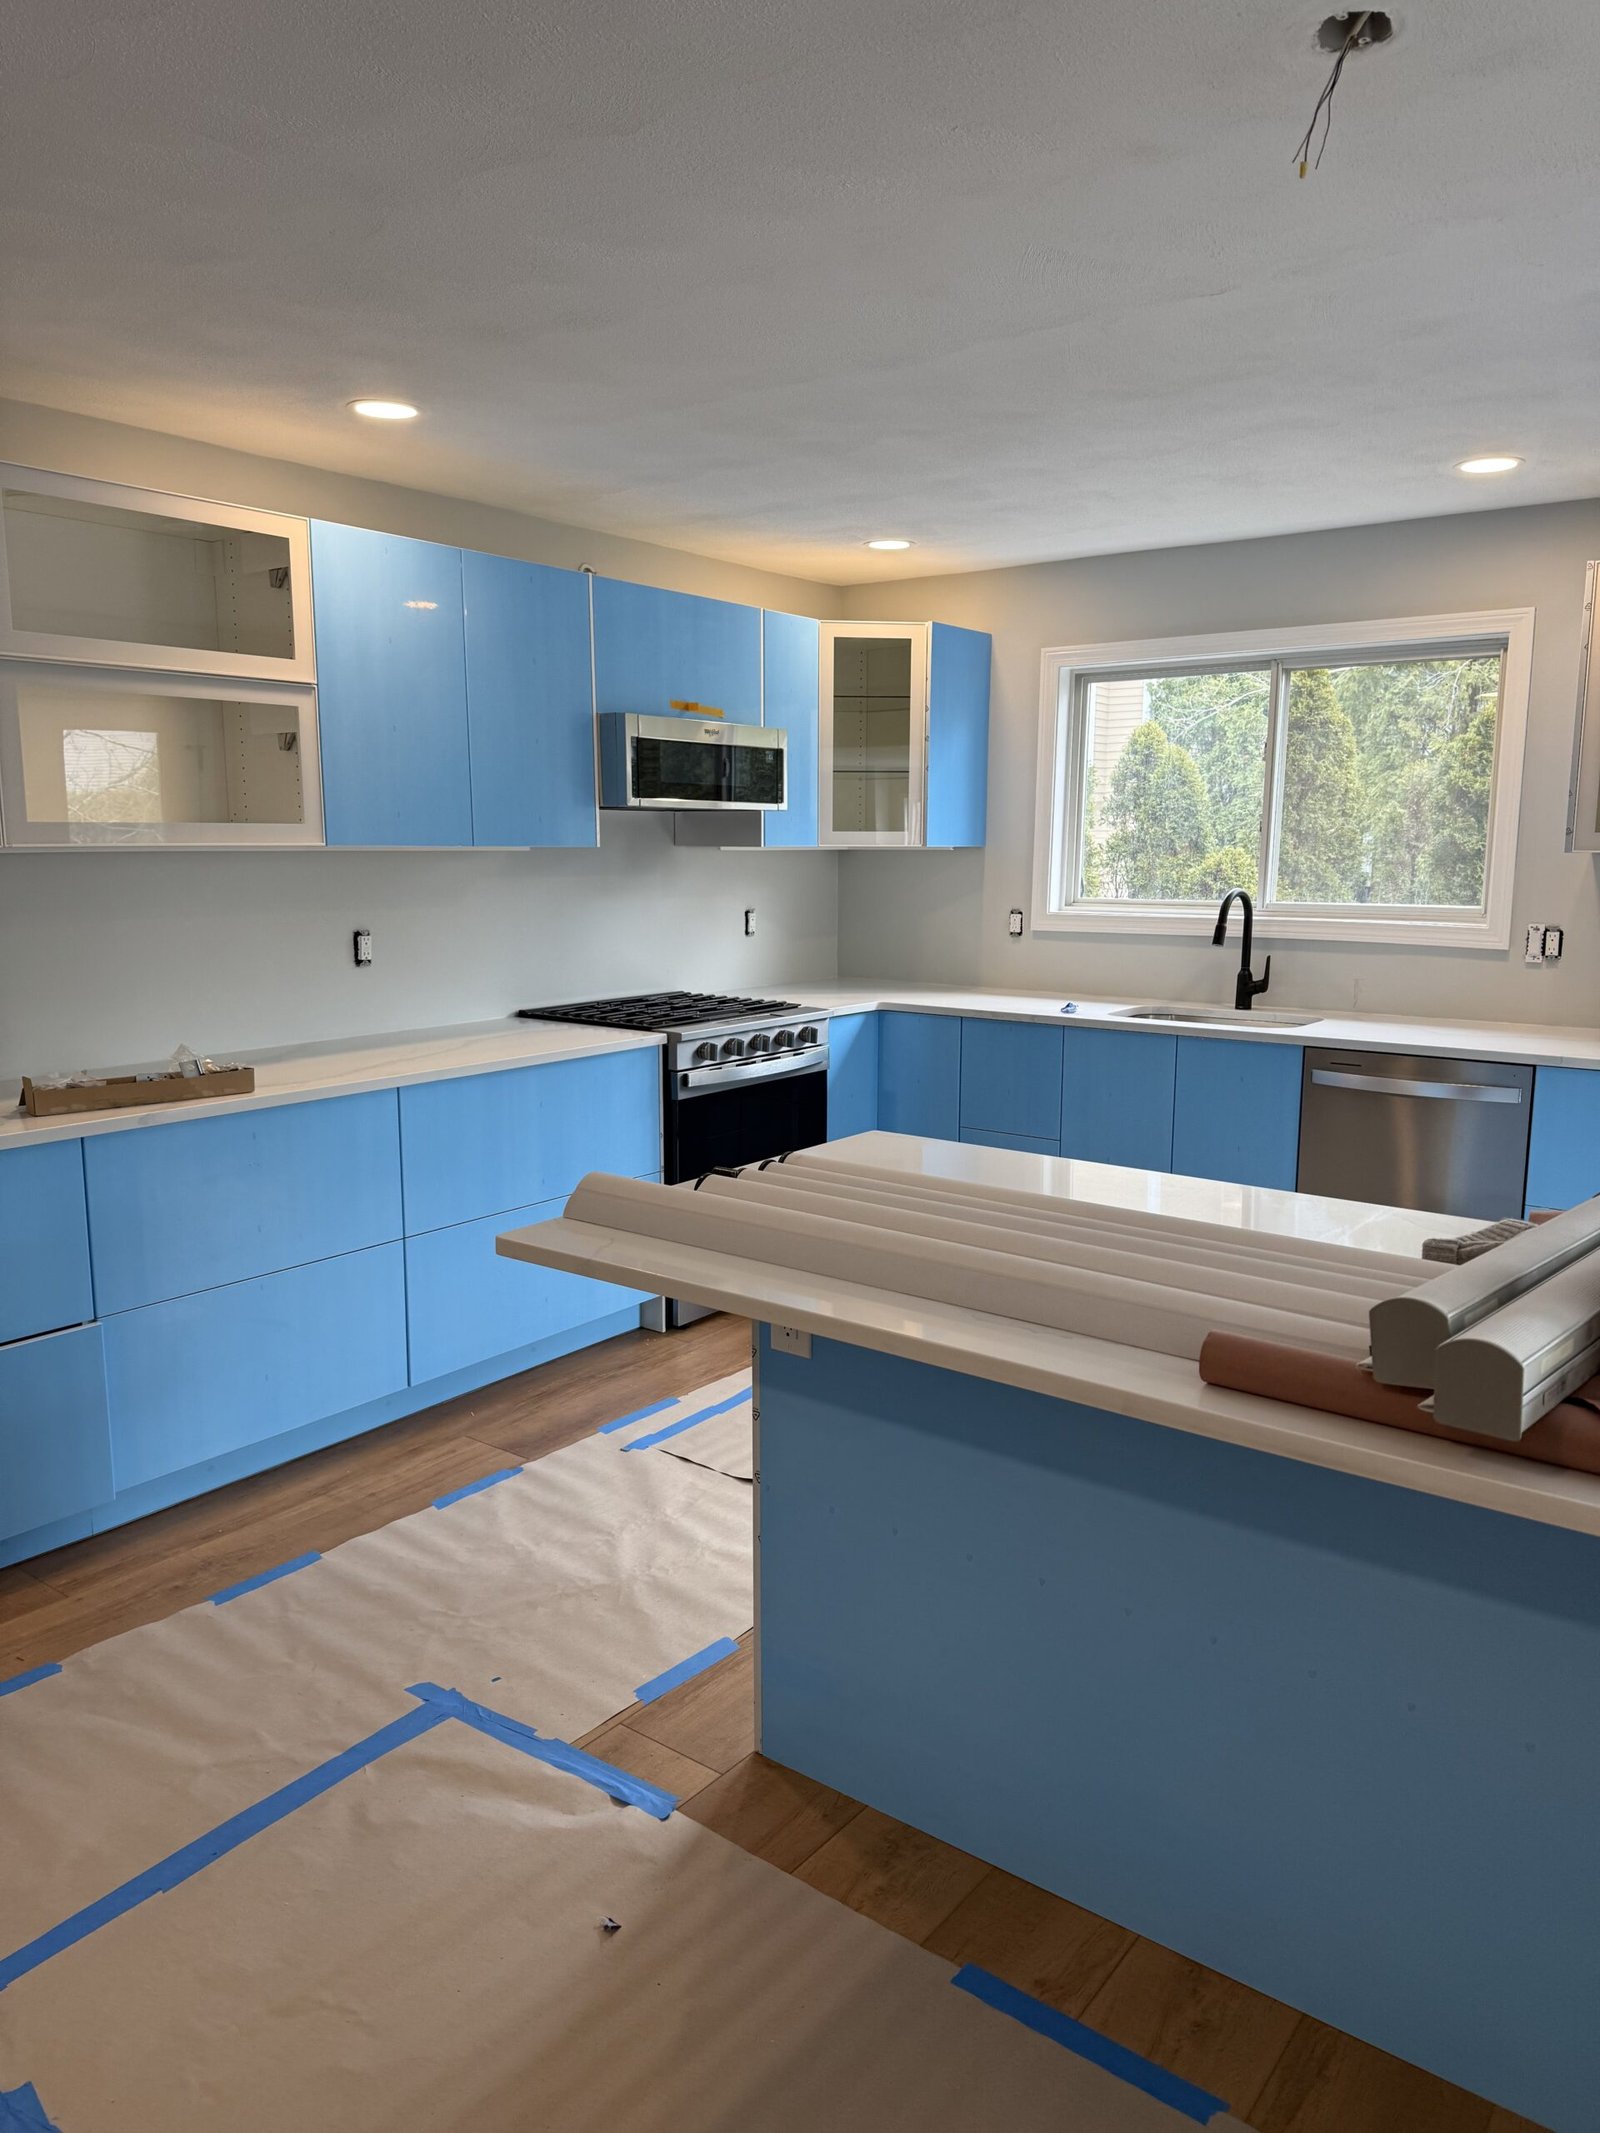
Salem kitchen project · real near-completion photography
Kitchen Remodeling in Salem, Massachusetts
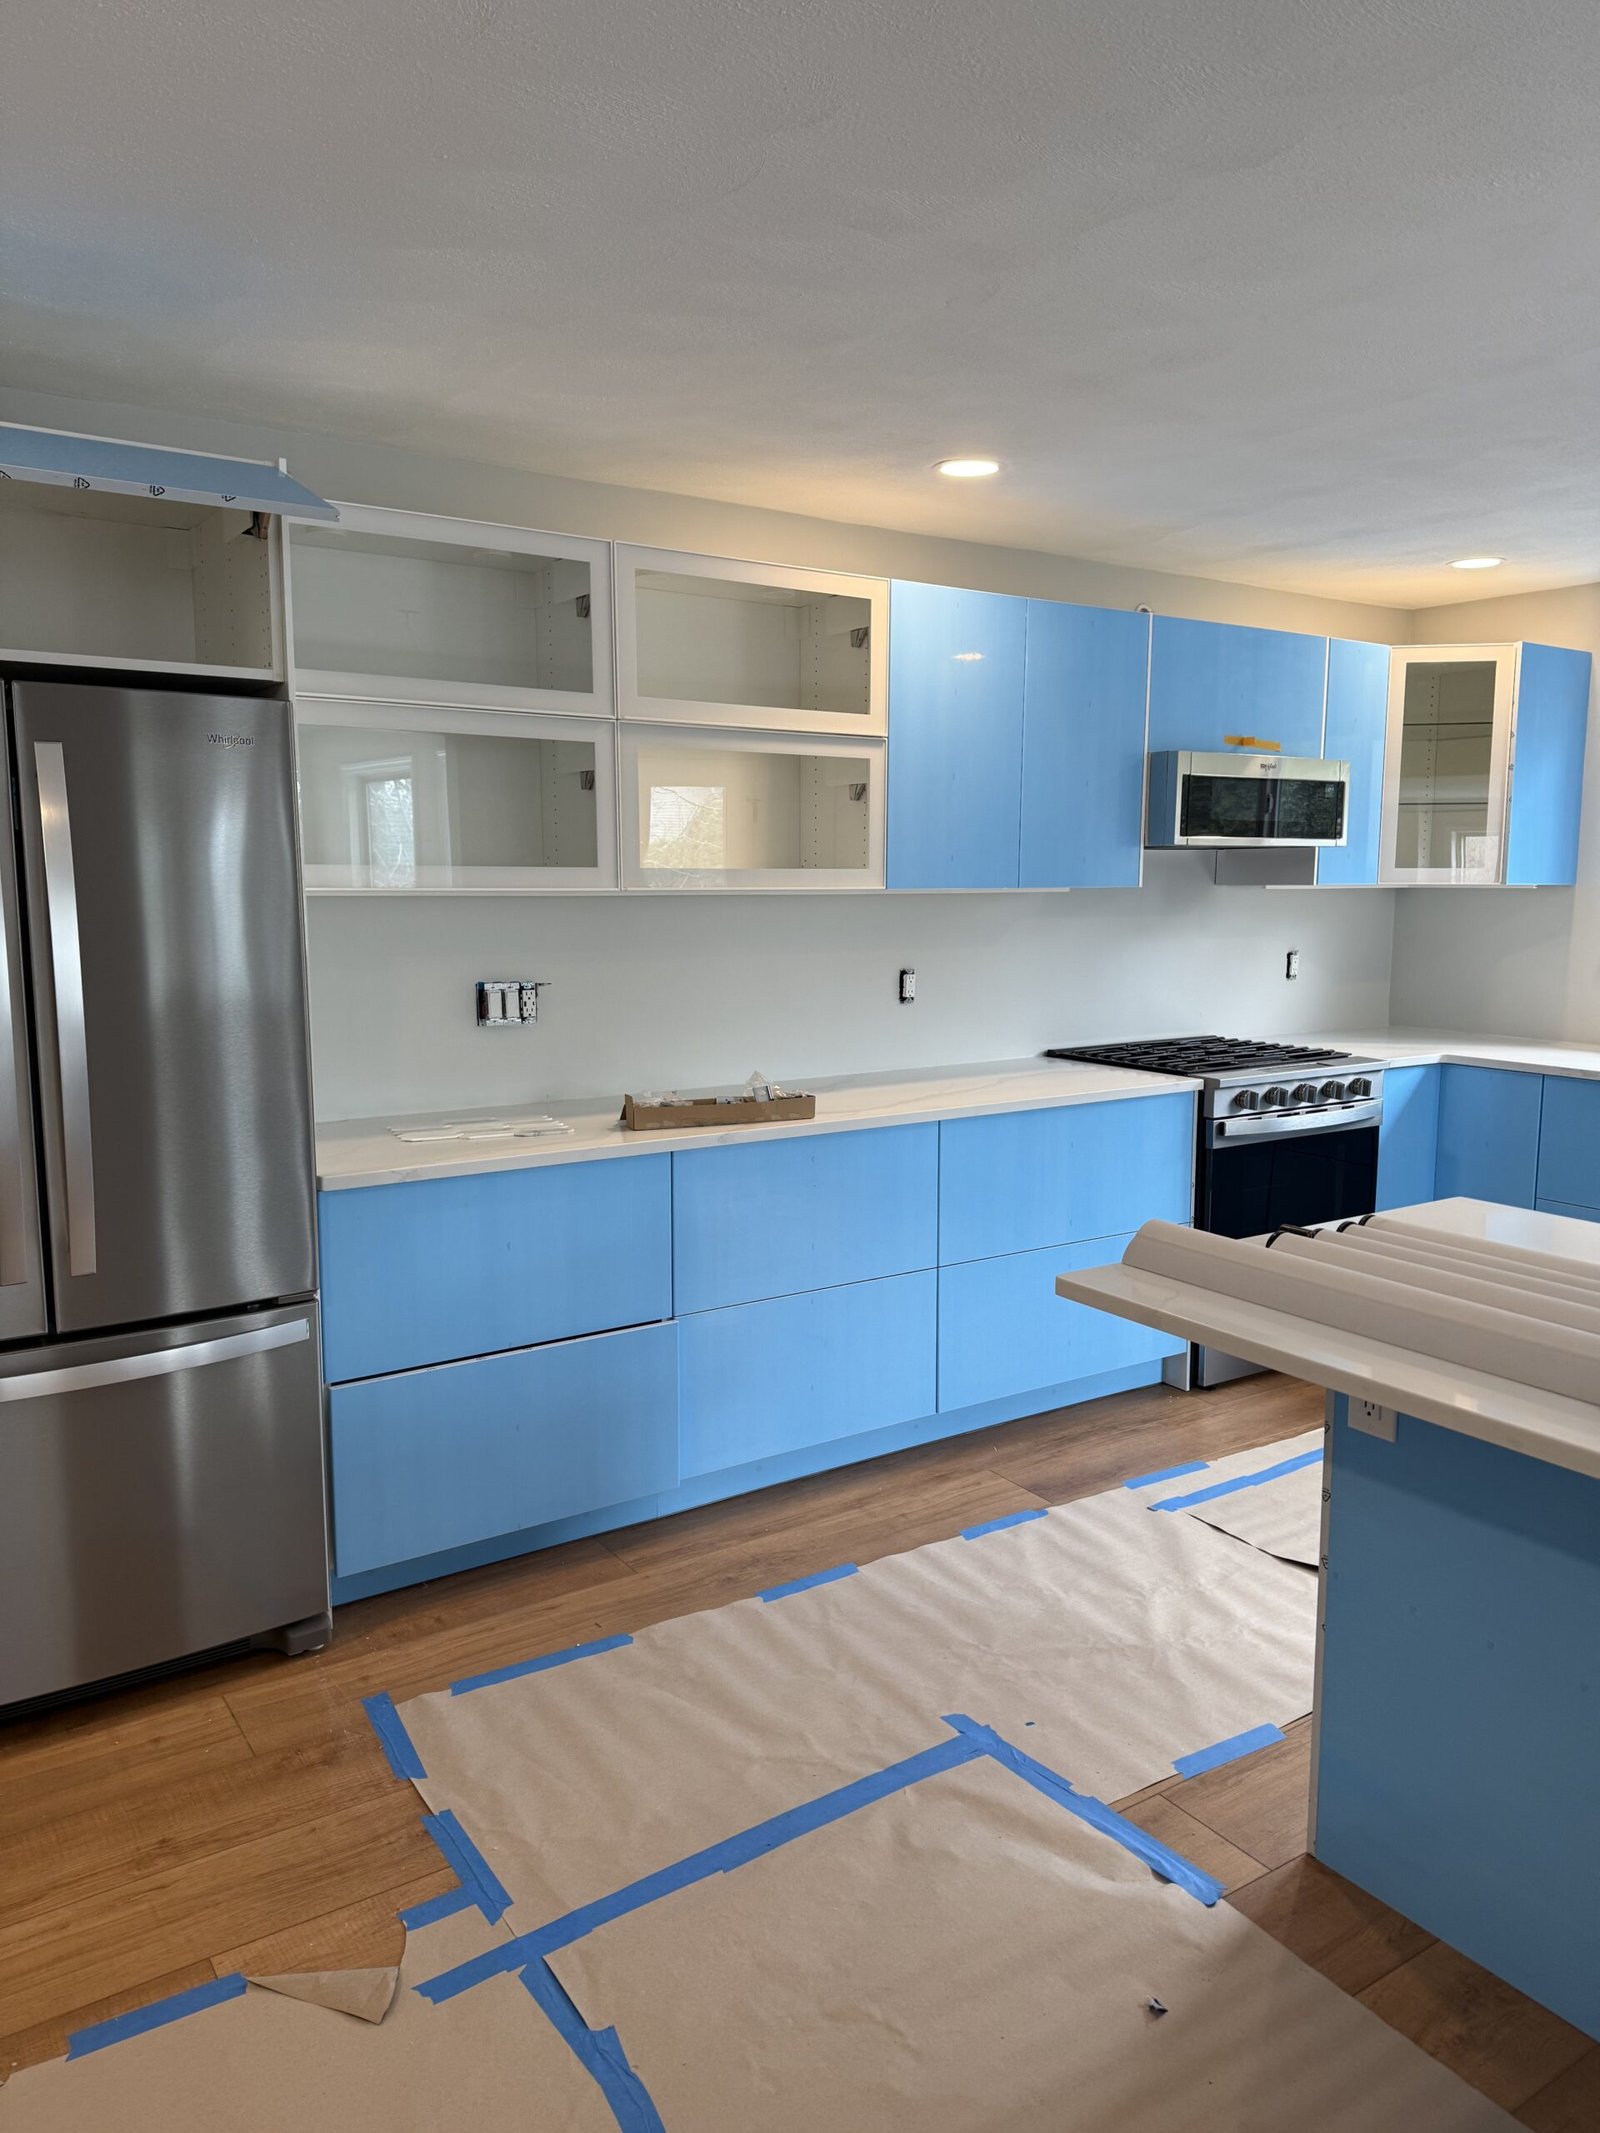
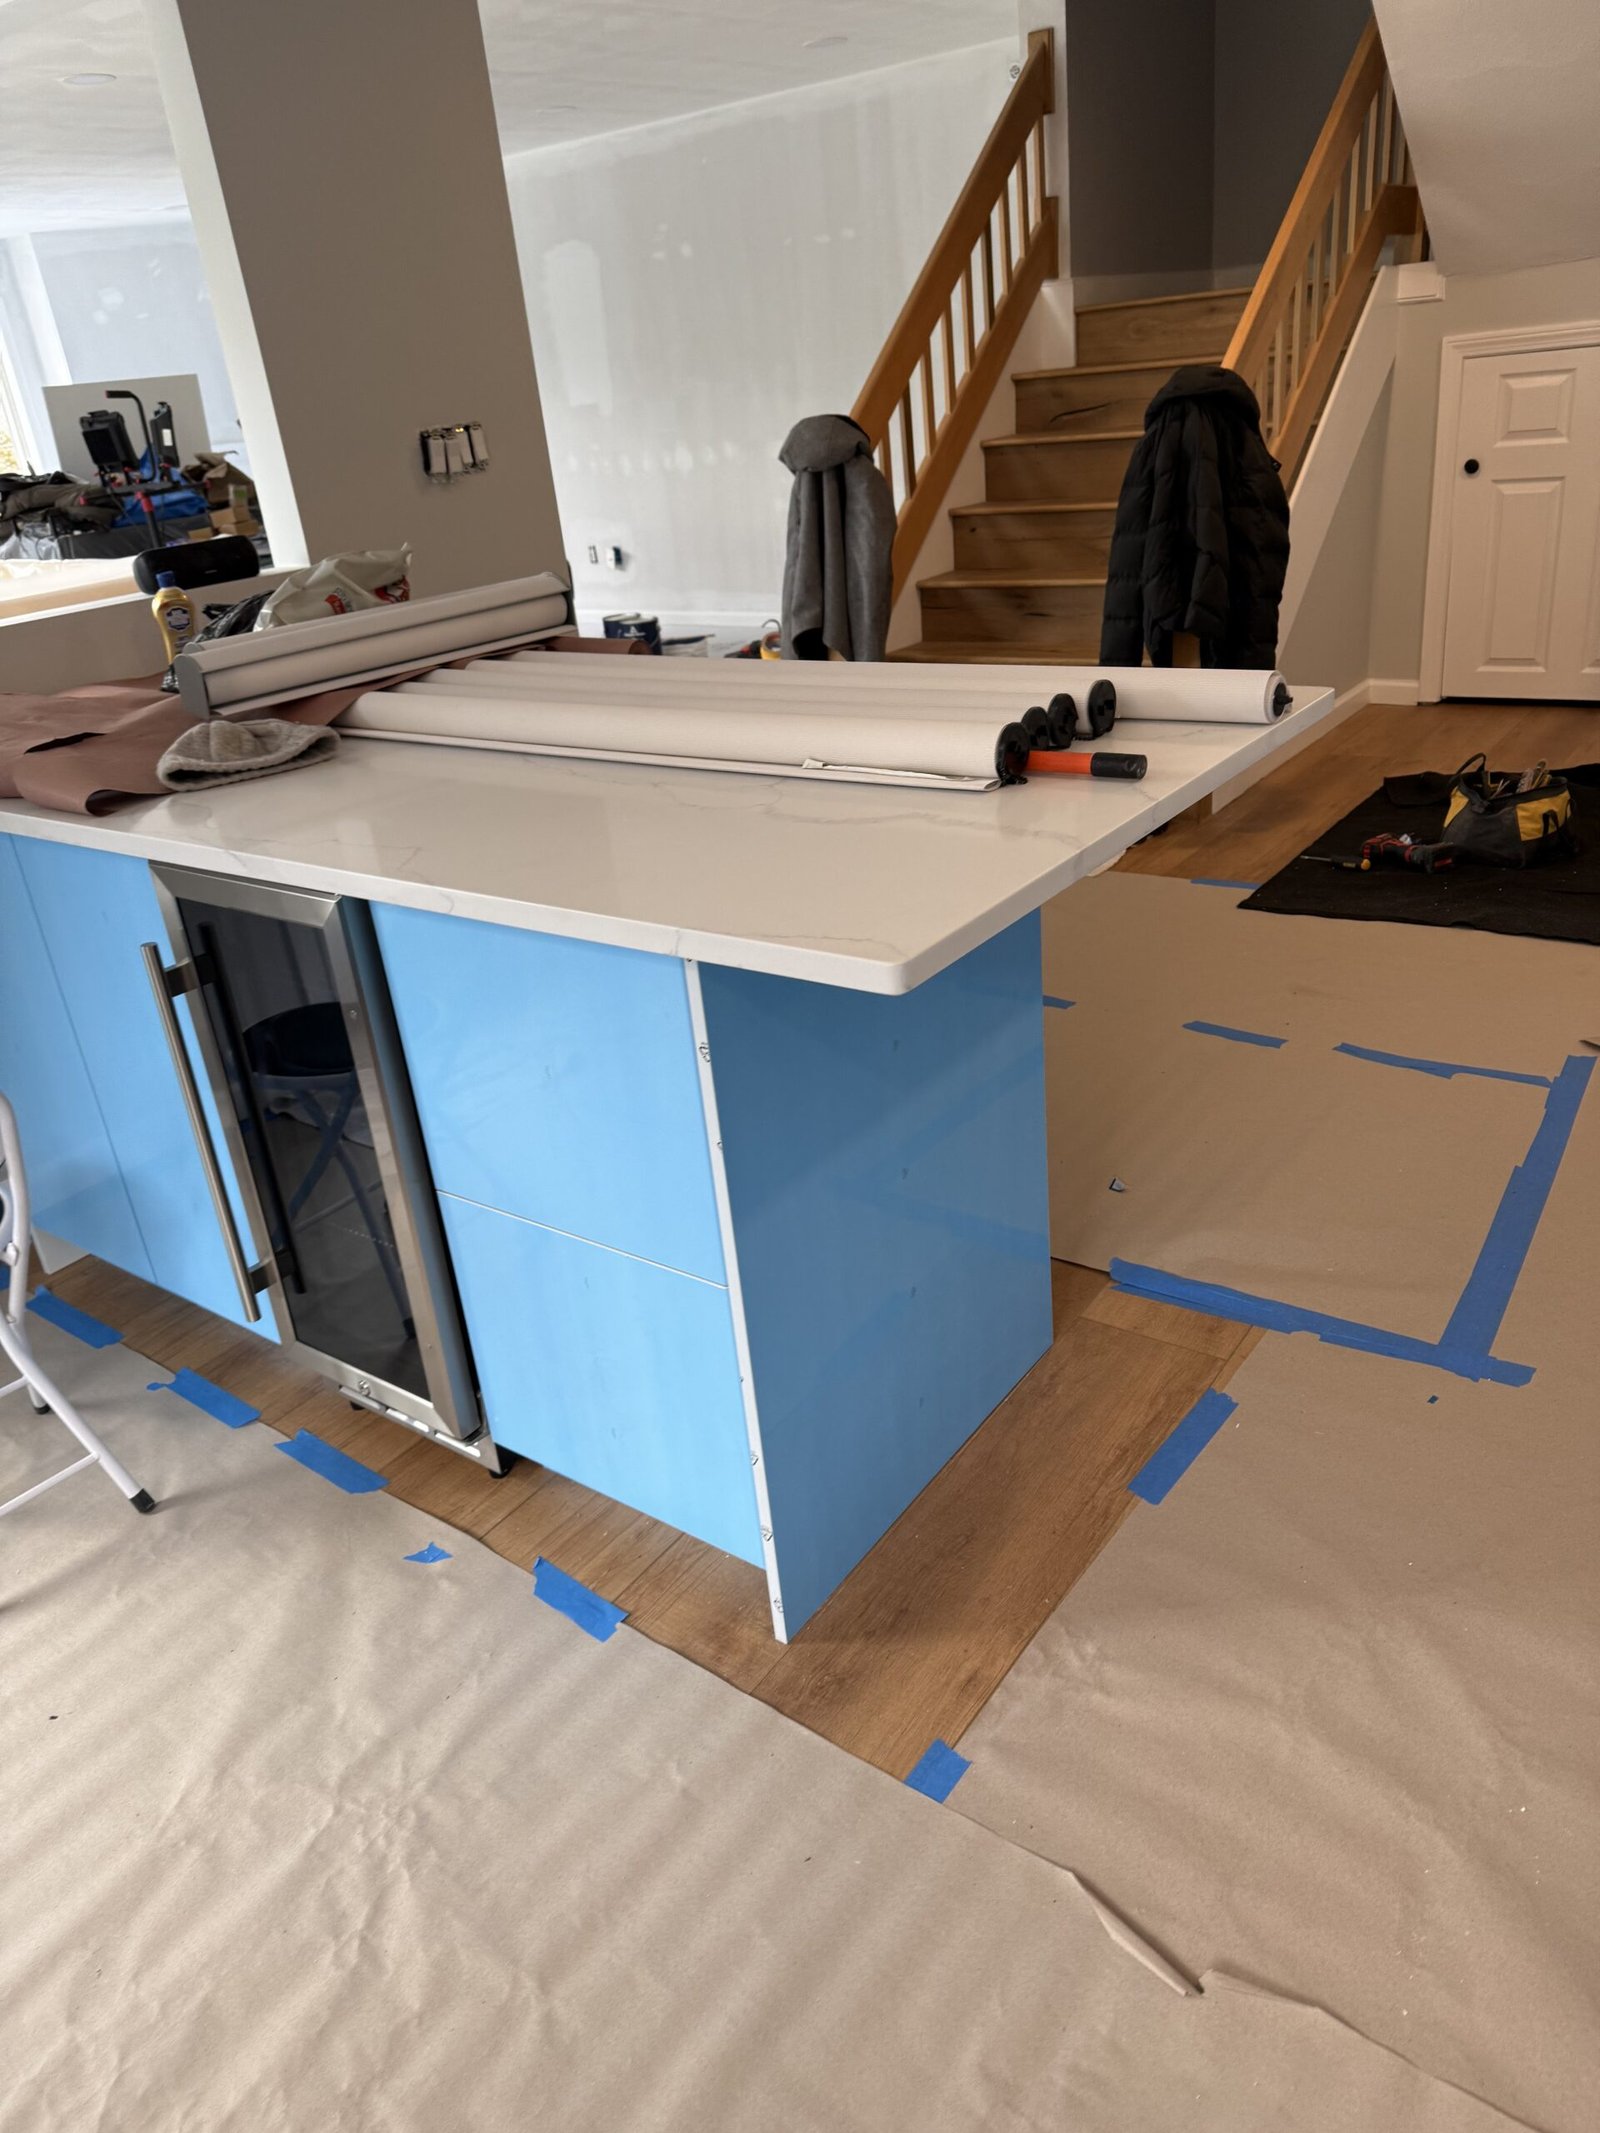
This separate Salem kitchen project introduced glossy white flat-panel cabinetry, white counters, a central island, stainless appliances, a new sink wall beneath the wide rear window, recessed lighting, and carefully finished connections to the stair, hallway, and adjoining rooms. The blue color visible in several photographs is removable protective film applied over the new white cabinet finish during installation. The surviving photographs were taken during final installation and punch-list work while the hardwood floor remained protected.
30+ years experience · Massachusetts HIC #213344 · licensed team · fully insured · real Salem project
The project
A Bright White Kitchen Built Around Everyday Use
The new kitchen uses glossy white cabinetry and bright work surfaces to create a clean, contemporary layout. The sink sits beneath the wide window, the range and refrigerator remain easy to reach, and the island provides preparation space, storage, and a natural boundary beside the stair.
NERP completed the cabinetry, counters, island, sink and appliance integration, lighting, doors, trim, paint, and related finish work. The photographs document the final installation stage rather than a staged real-estate presentation.
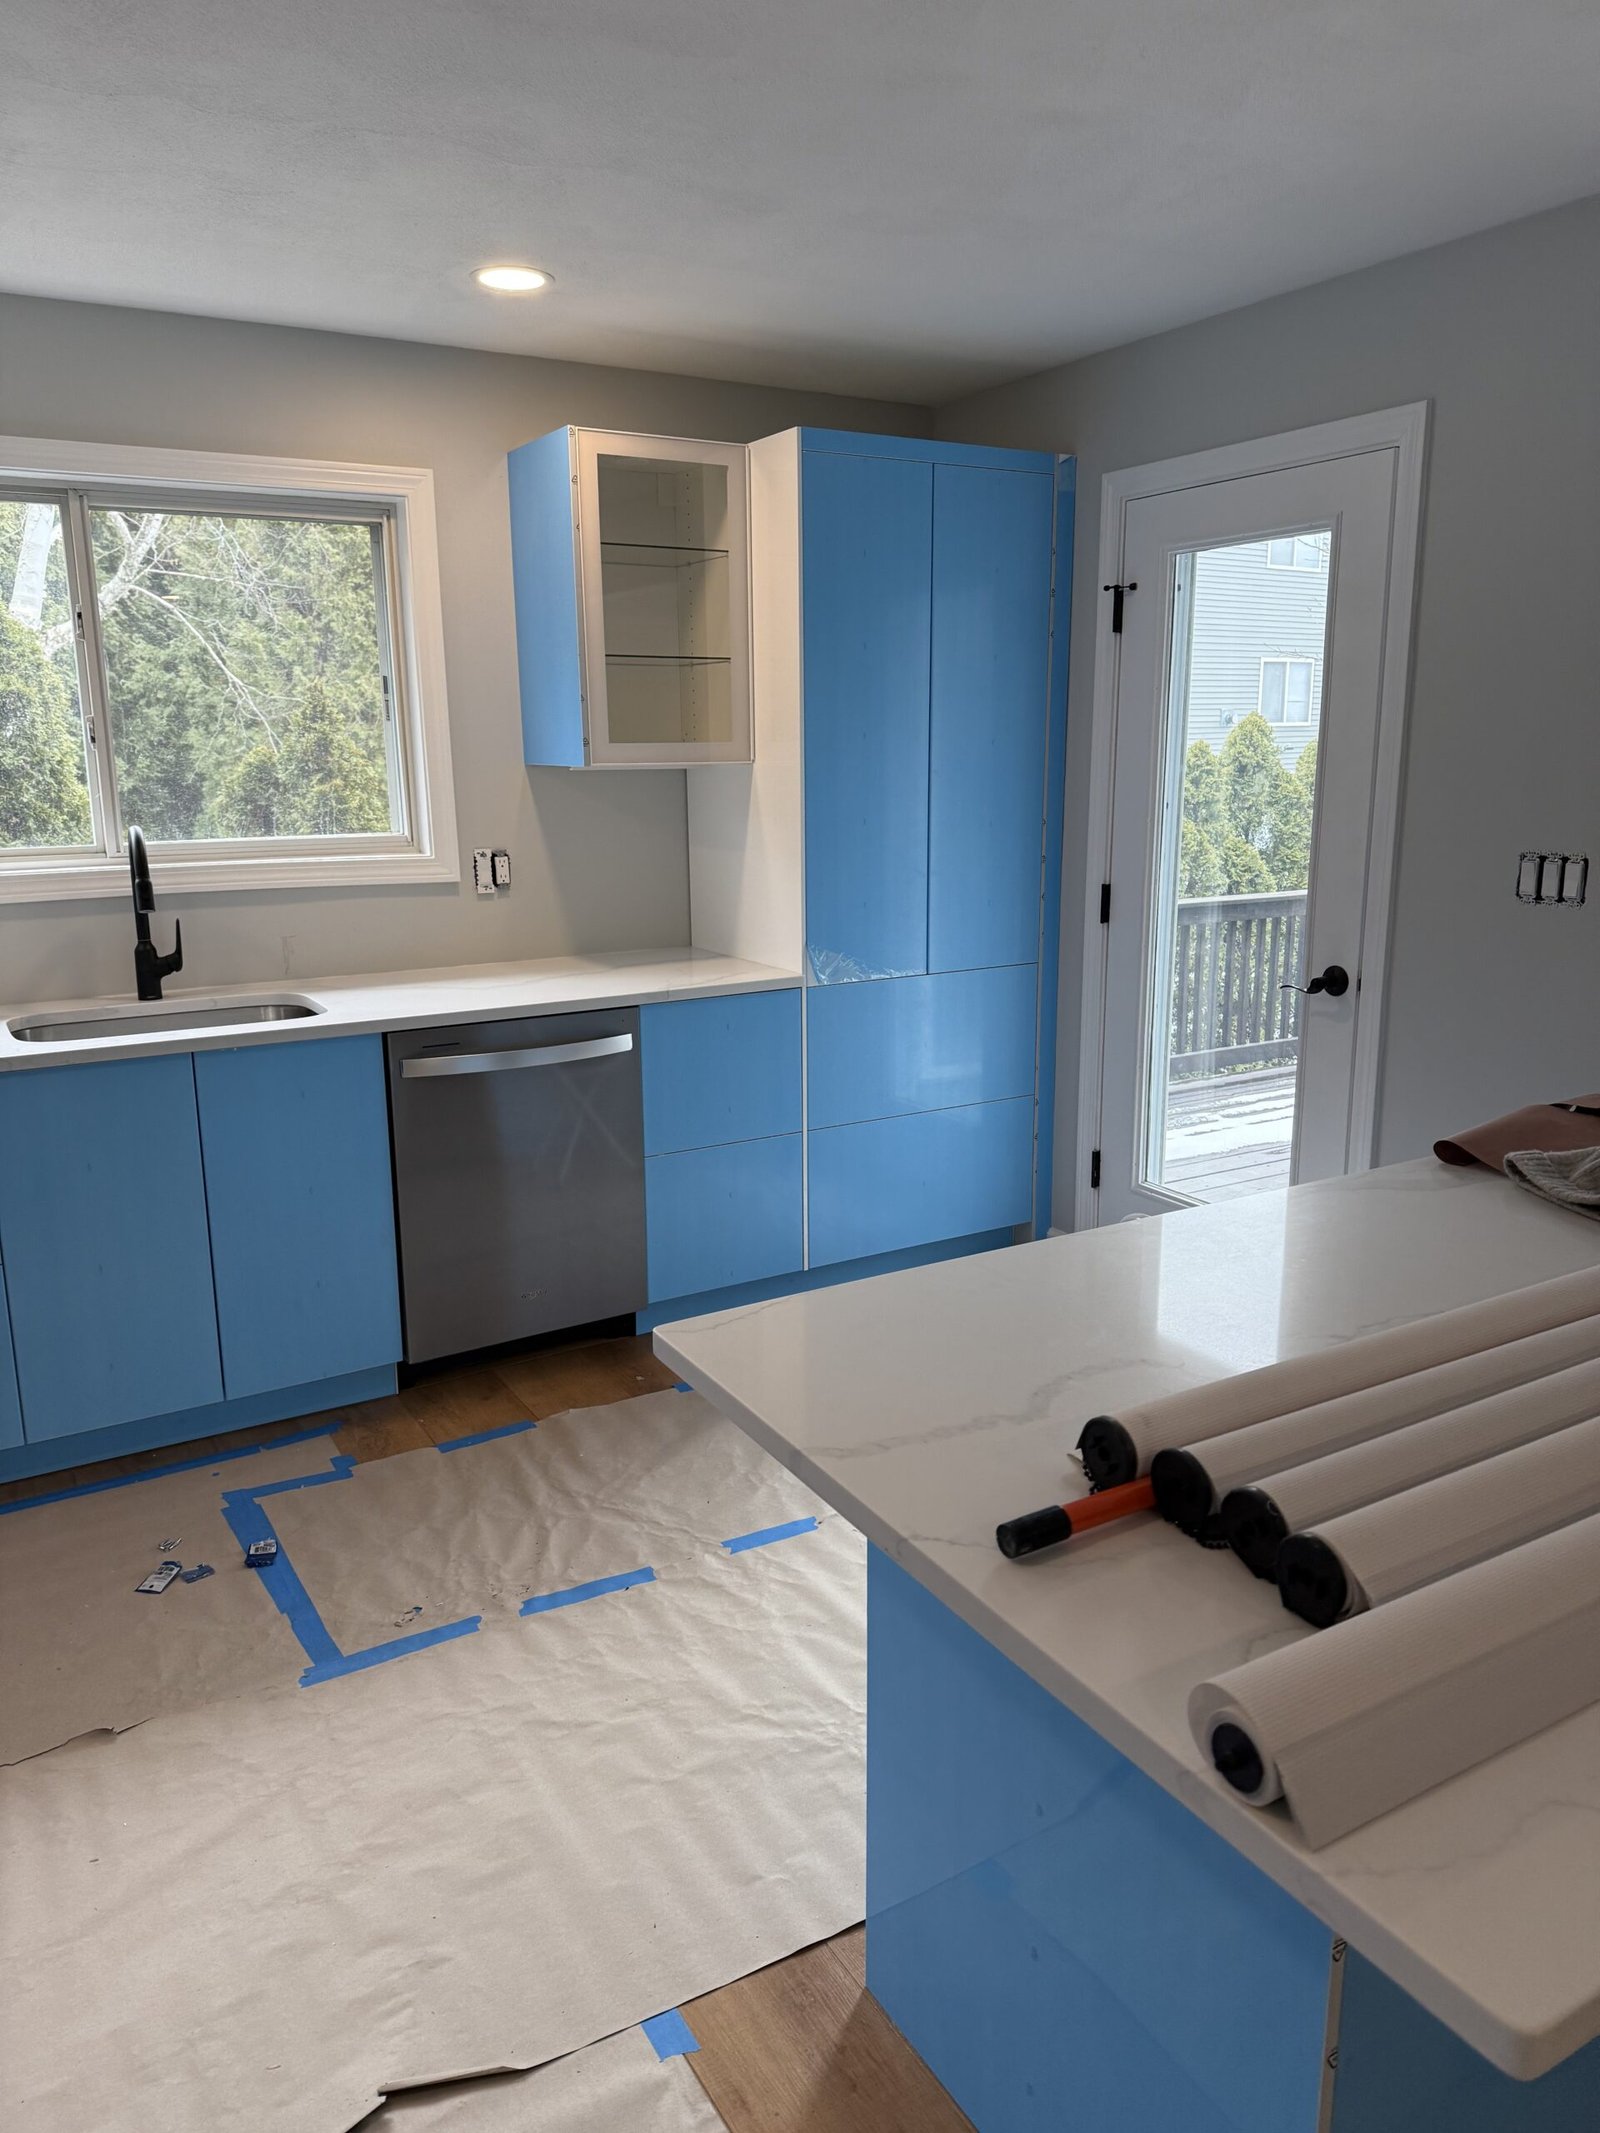
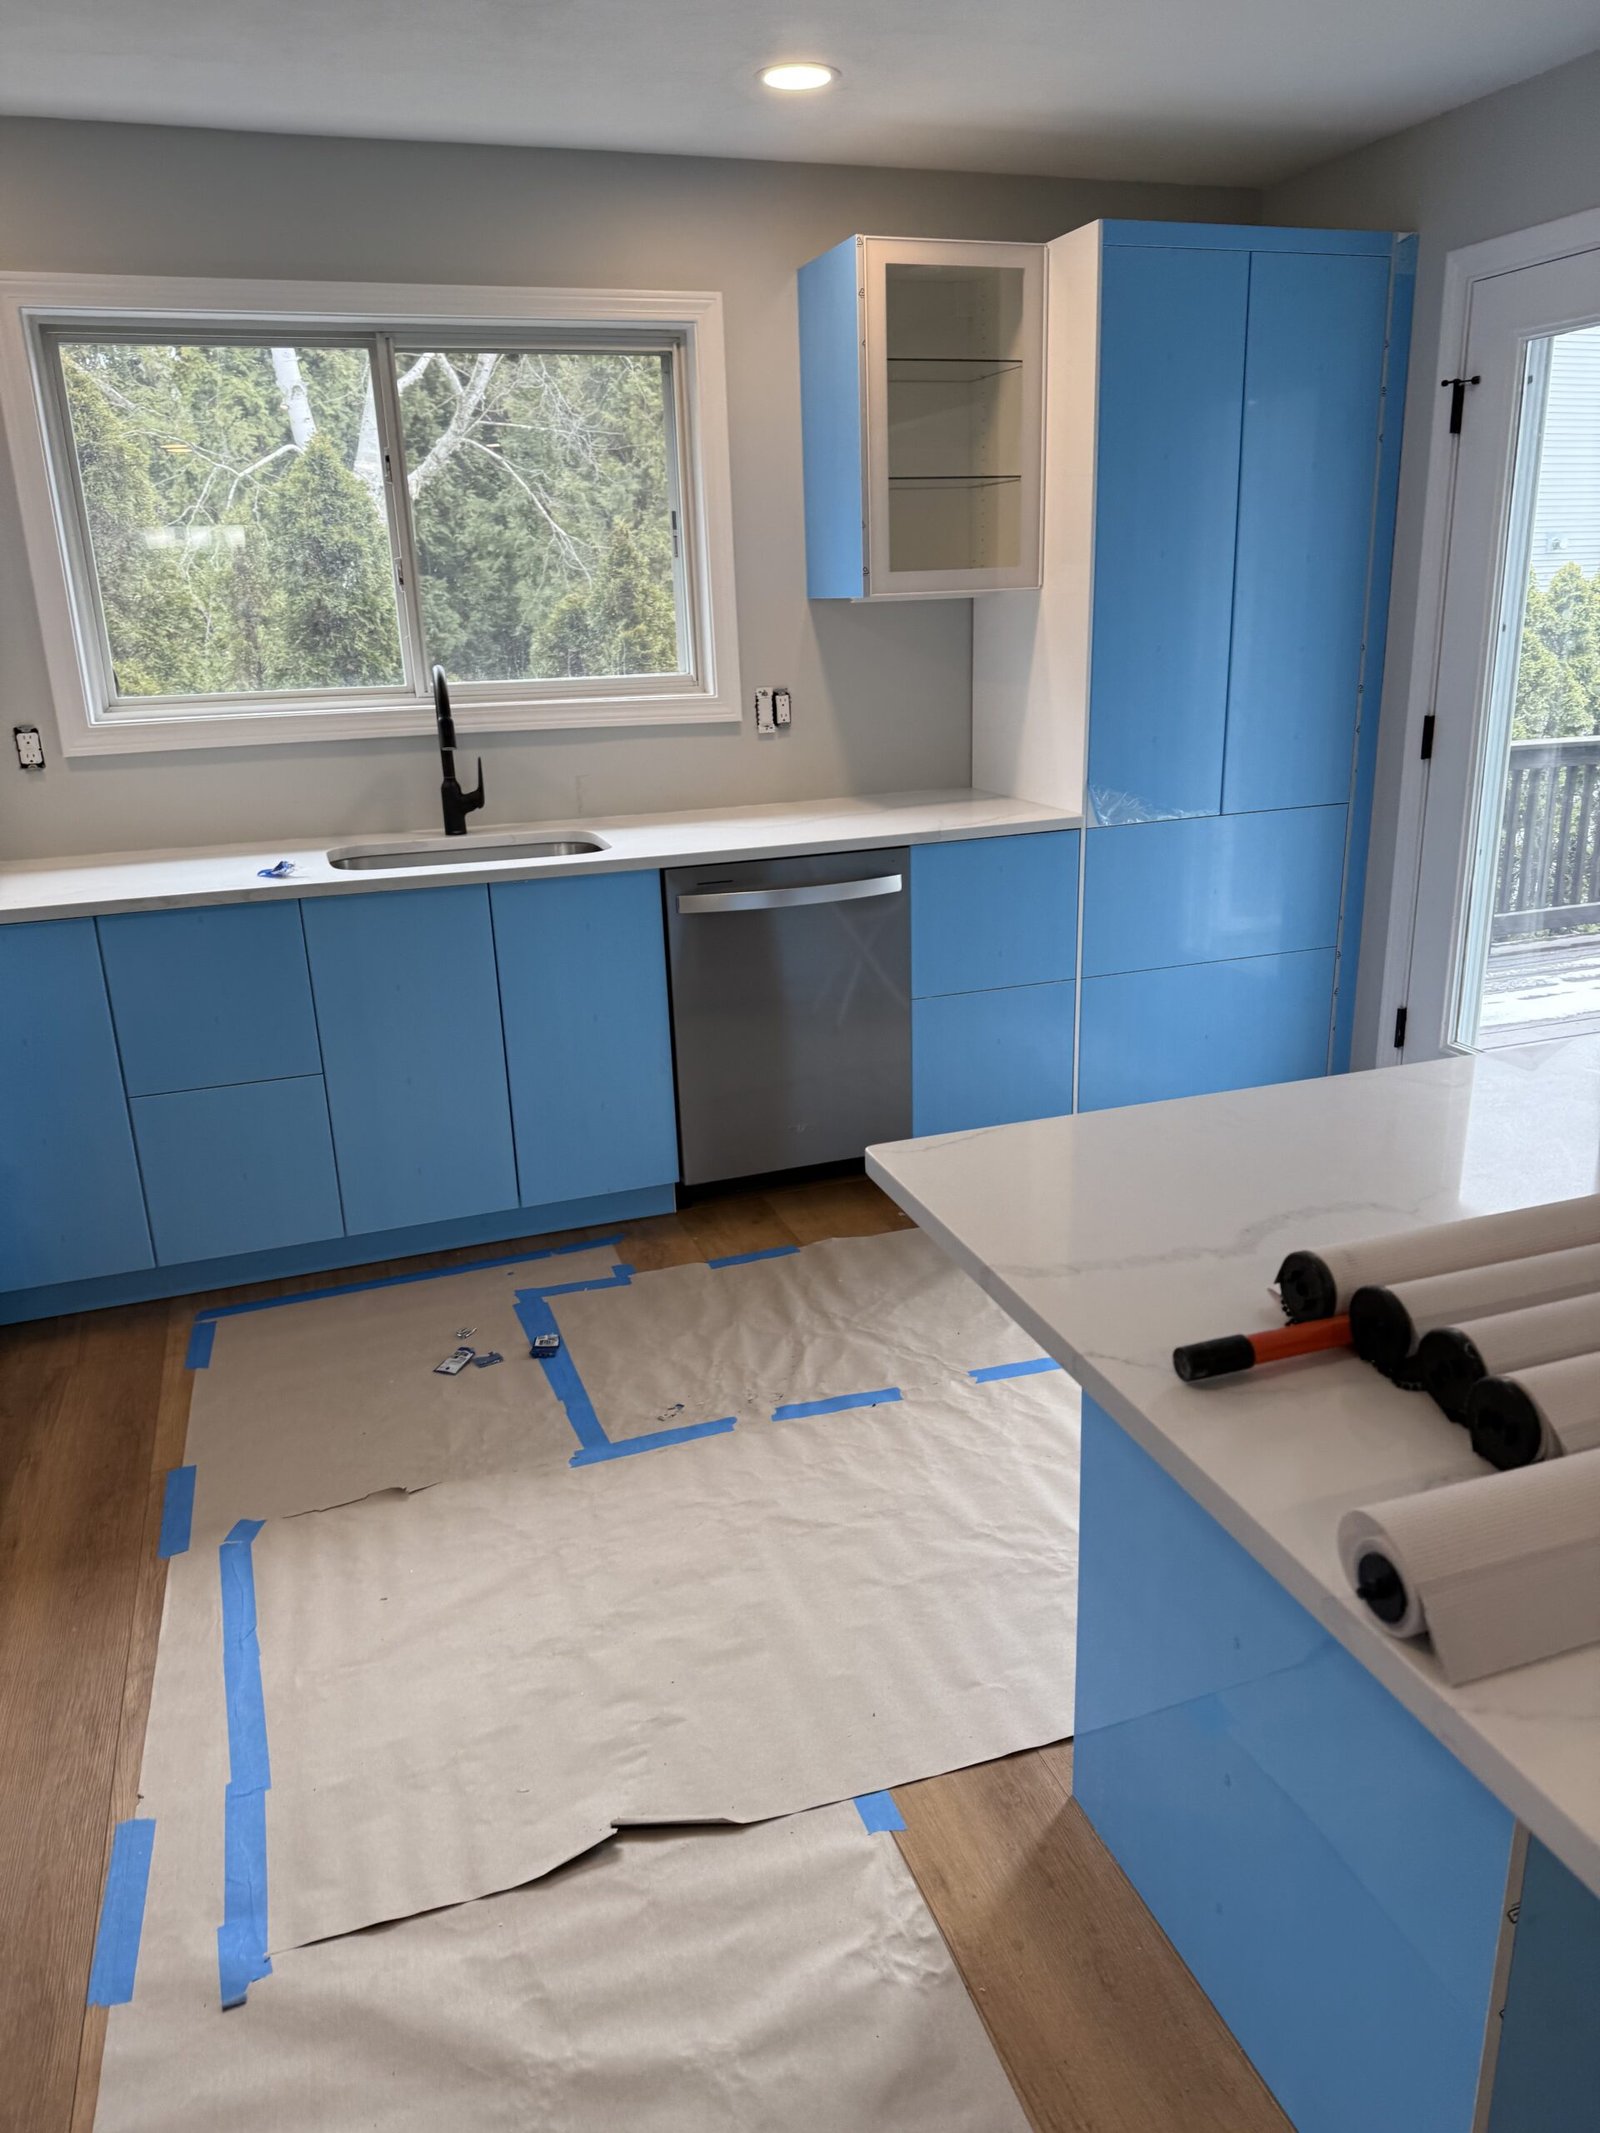
Protective paper and blue tape remained over the hardwood floor while installation and punch-list work were completed. The blue film visible on the cabinet fronts served the same purpose: protecting the glossy white finish until the kitchen was ready for final cleaning and handoff.
Cabinetry & Storage
Glossy white flat-panel perimeter cabinets, tall storage, open upper sections, island storage, and carefully aligned doors and panels. Blue protective film remained on portions of the cabinetry during installation.
Counters & Island
Bright work surfaces and a central island create practical preparation space while keeping the kitchen open to the adjoining home.
Sink & Appliances
The sink wall, stainless refrigerator, range, microwave, and island appliance opening were integrated into the new layout.
Lighting & Finish Details
Recessed lighting, paint, door and casing details, wall finishes, and transitions complete the connection to the surrounding rooms.
Stage 01 · Layout and cabinetry installation
White Cabinetry, Sink Wall & an Open Working Layout
The remodeled kitchen is organized around a long sink wall beneath the wide rear window, an appliance wall, and a central island that keeps preparation and storage within easy reach.
Glossy white flat-panel cabinetry and white counters create a bright, contemporary room, while open upper sections keep the long sink wall visually light. The blue appearance in these photographs is removable protective film safeguarding the cabinet finish during installation. These photographs were taken during final installation, with floor protection still in place.
White Cabinetry, Sink Wall & an Open Working Layout — Project Photographs
3 photographs
Stage 02 · Island and appliance integration
A Central Island, Stainless Appliances & Practical Storage
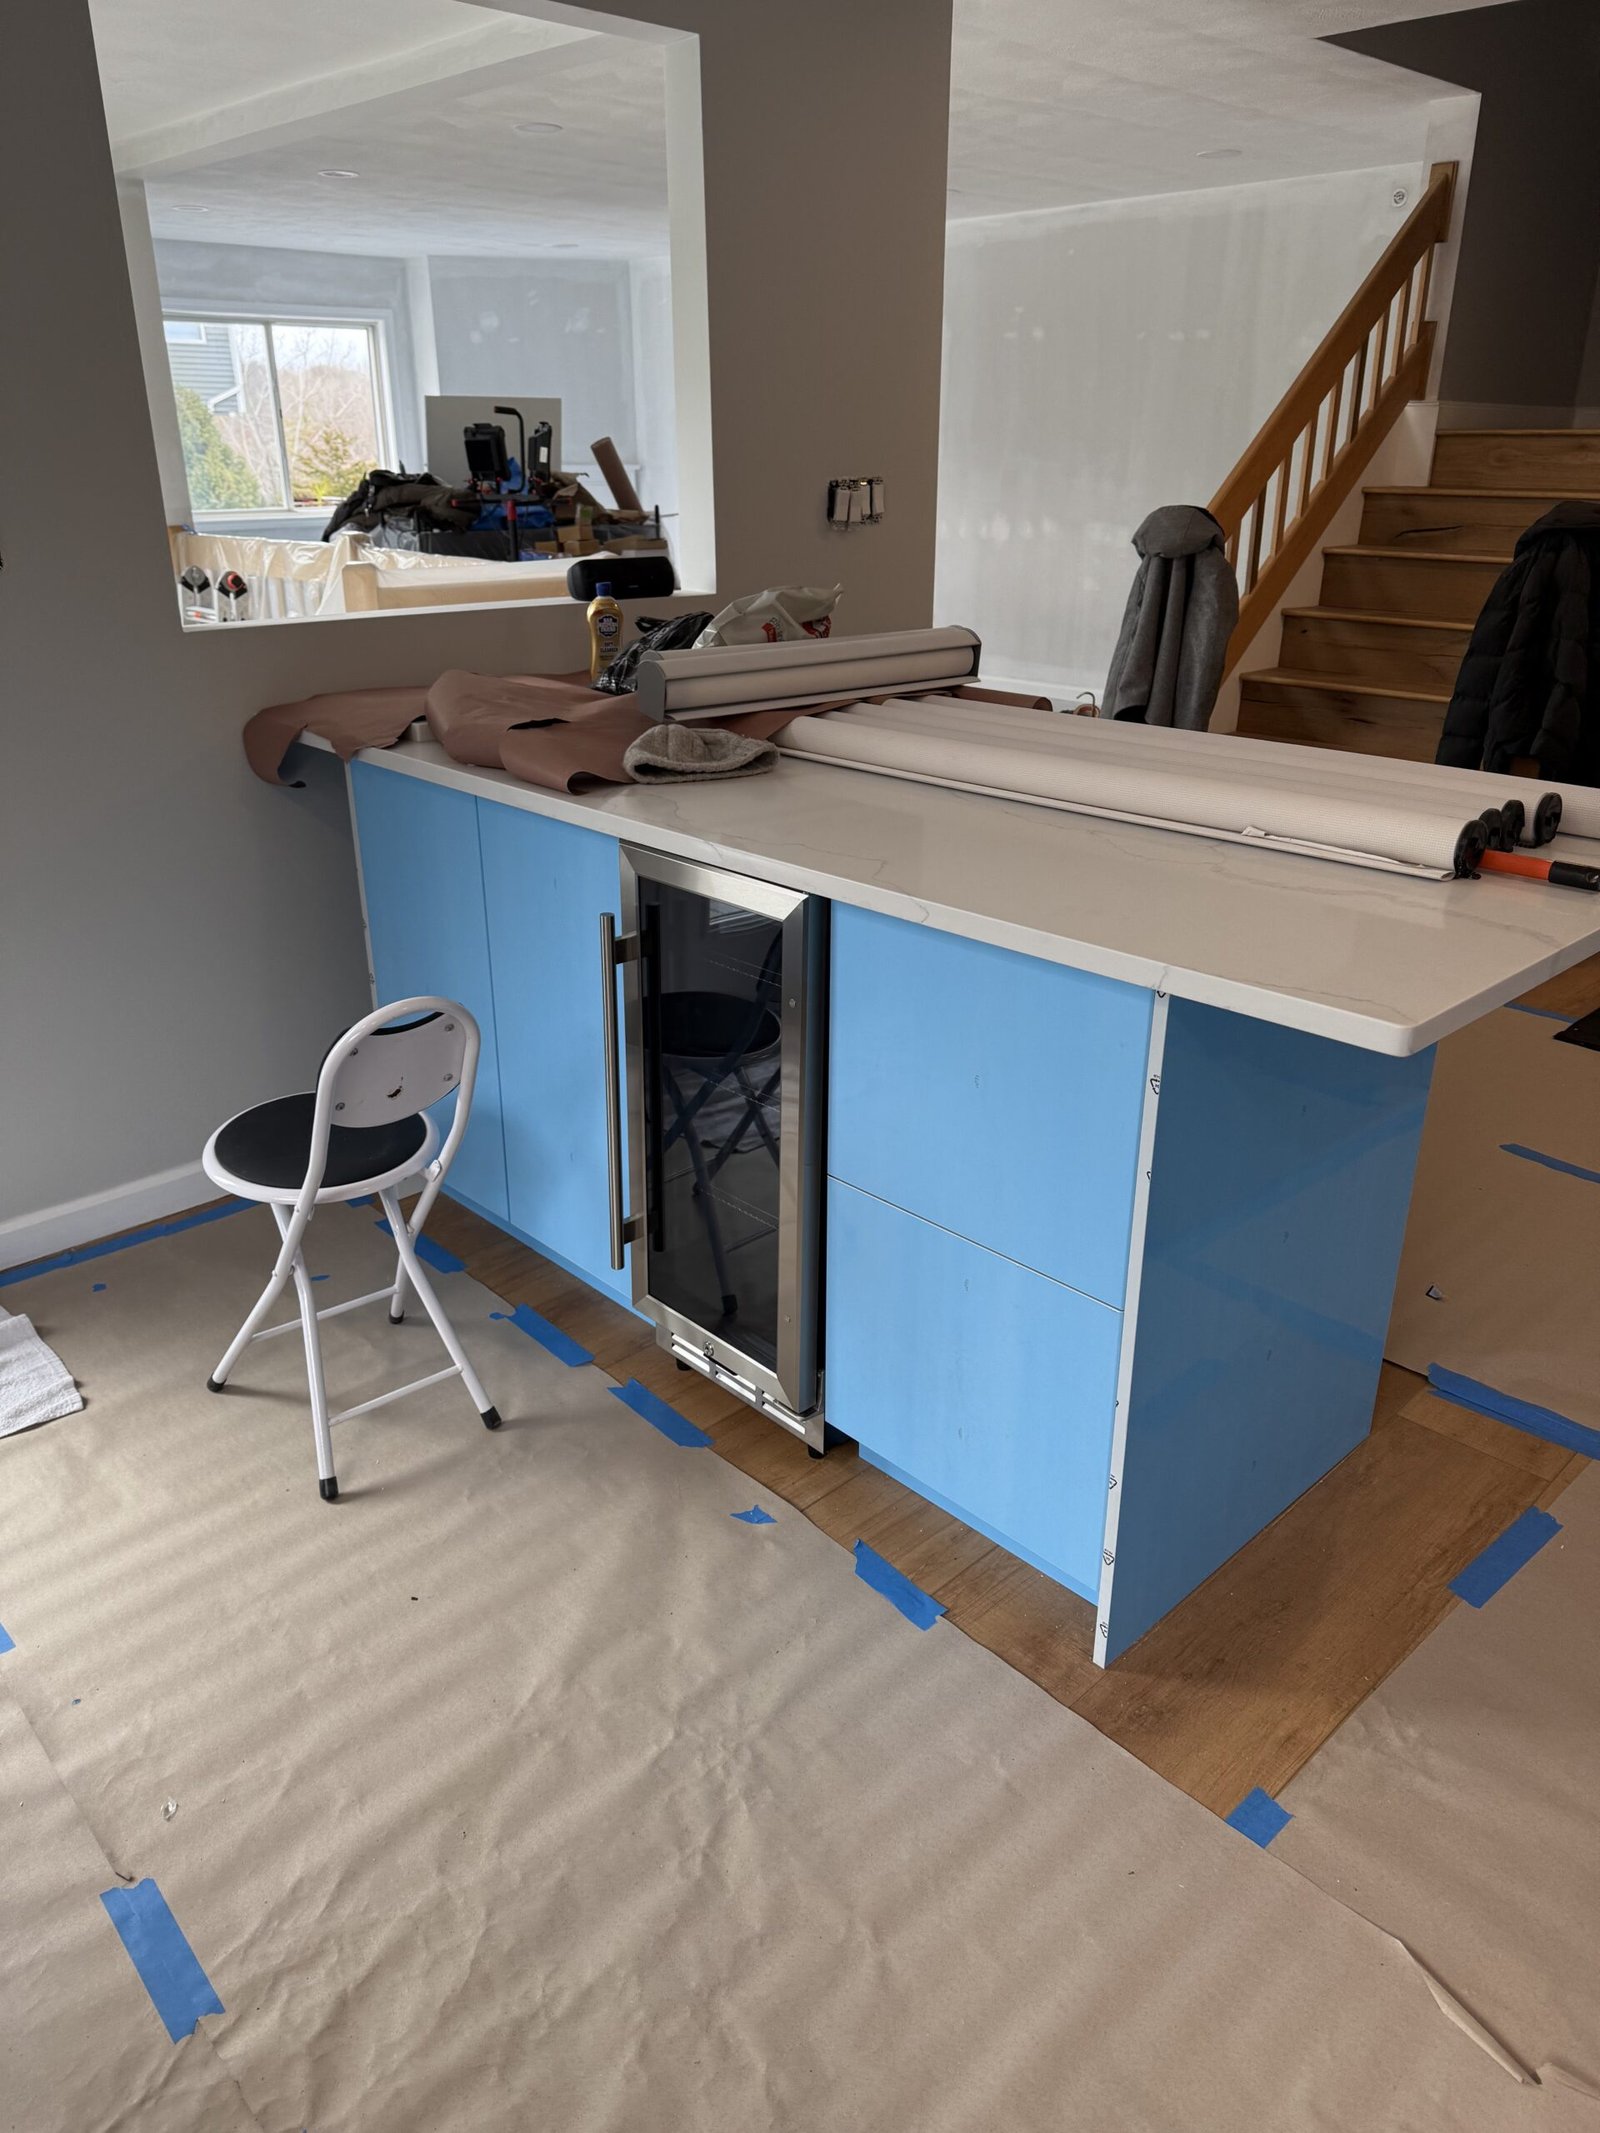
The island adds a generous work surface while separating the kitchen from the stair and adjoining living area without closing the room off. Storage and appliance openings were fitted into the island so the center of the kitchen remains useful from every side.
The stainless refrigerator, range, microwave, sink, and related cabinetry were integrated into one coordinated layout rather than added as isolated pieces.
A Central Island, Stainless Appliances & Practical Storage — Project Photographs
3 photographs
Stage 03 · Connections and finishing details
Clean Transitions Into the Hallway, Doors & Adjoining Rooms
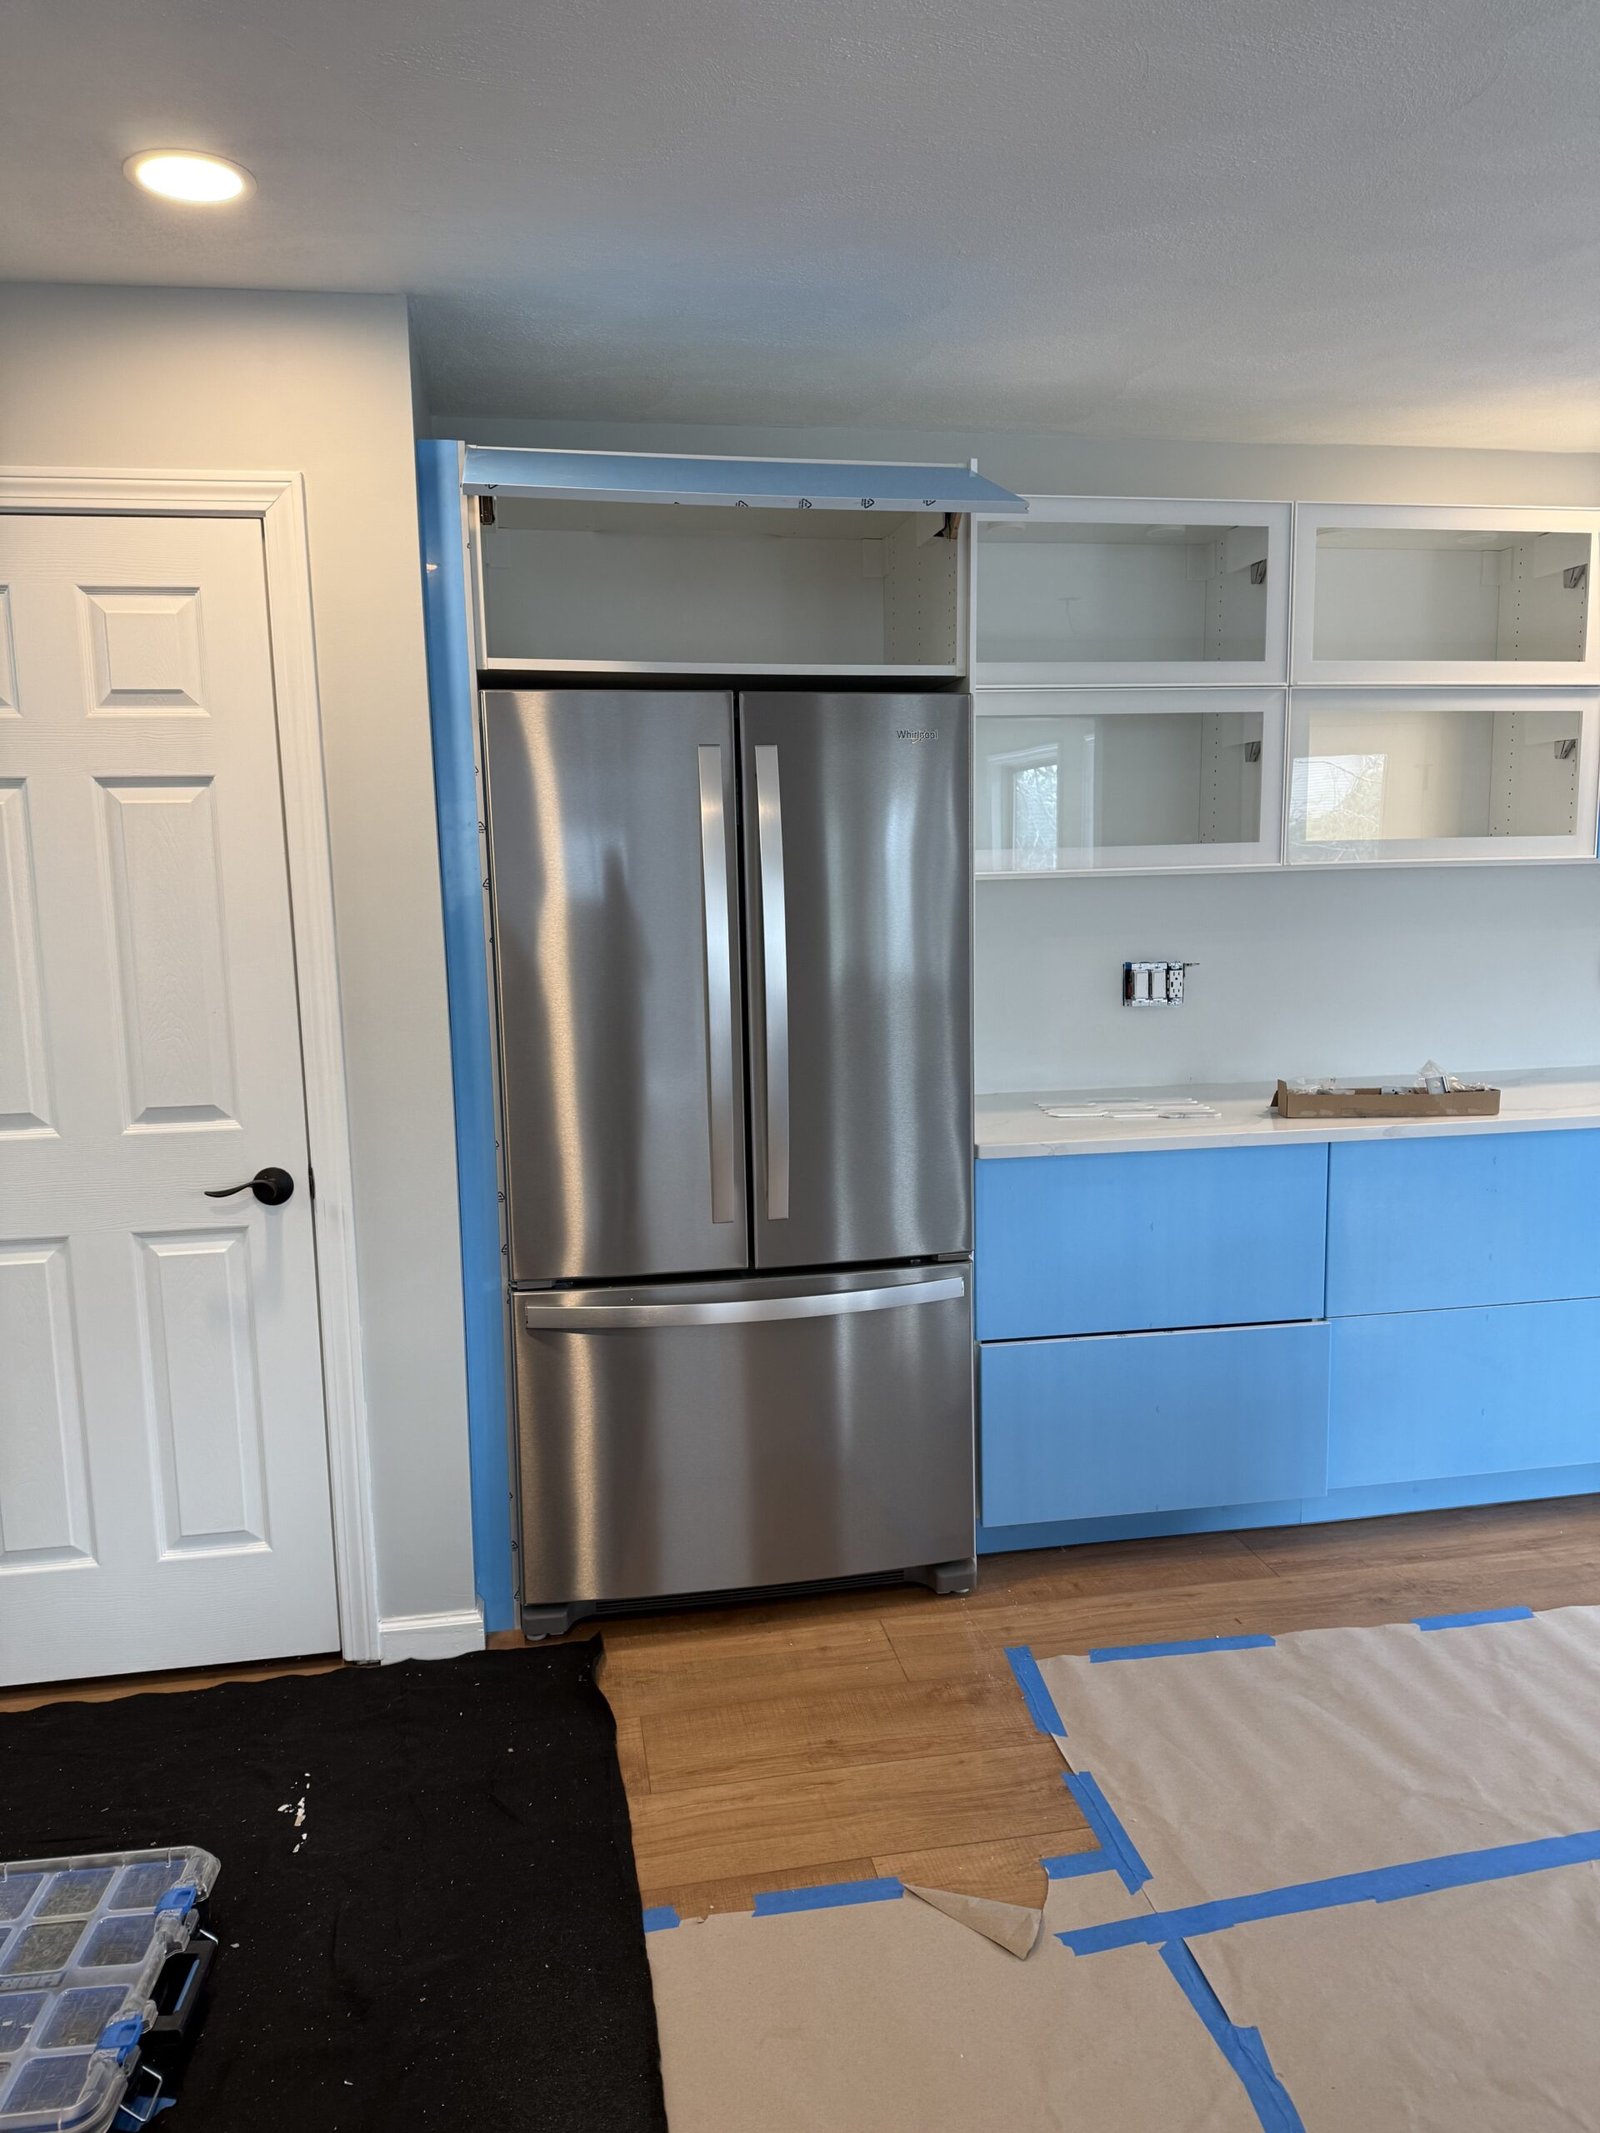
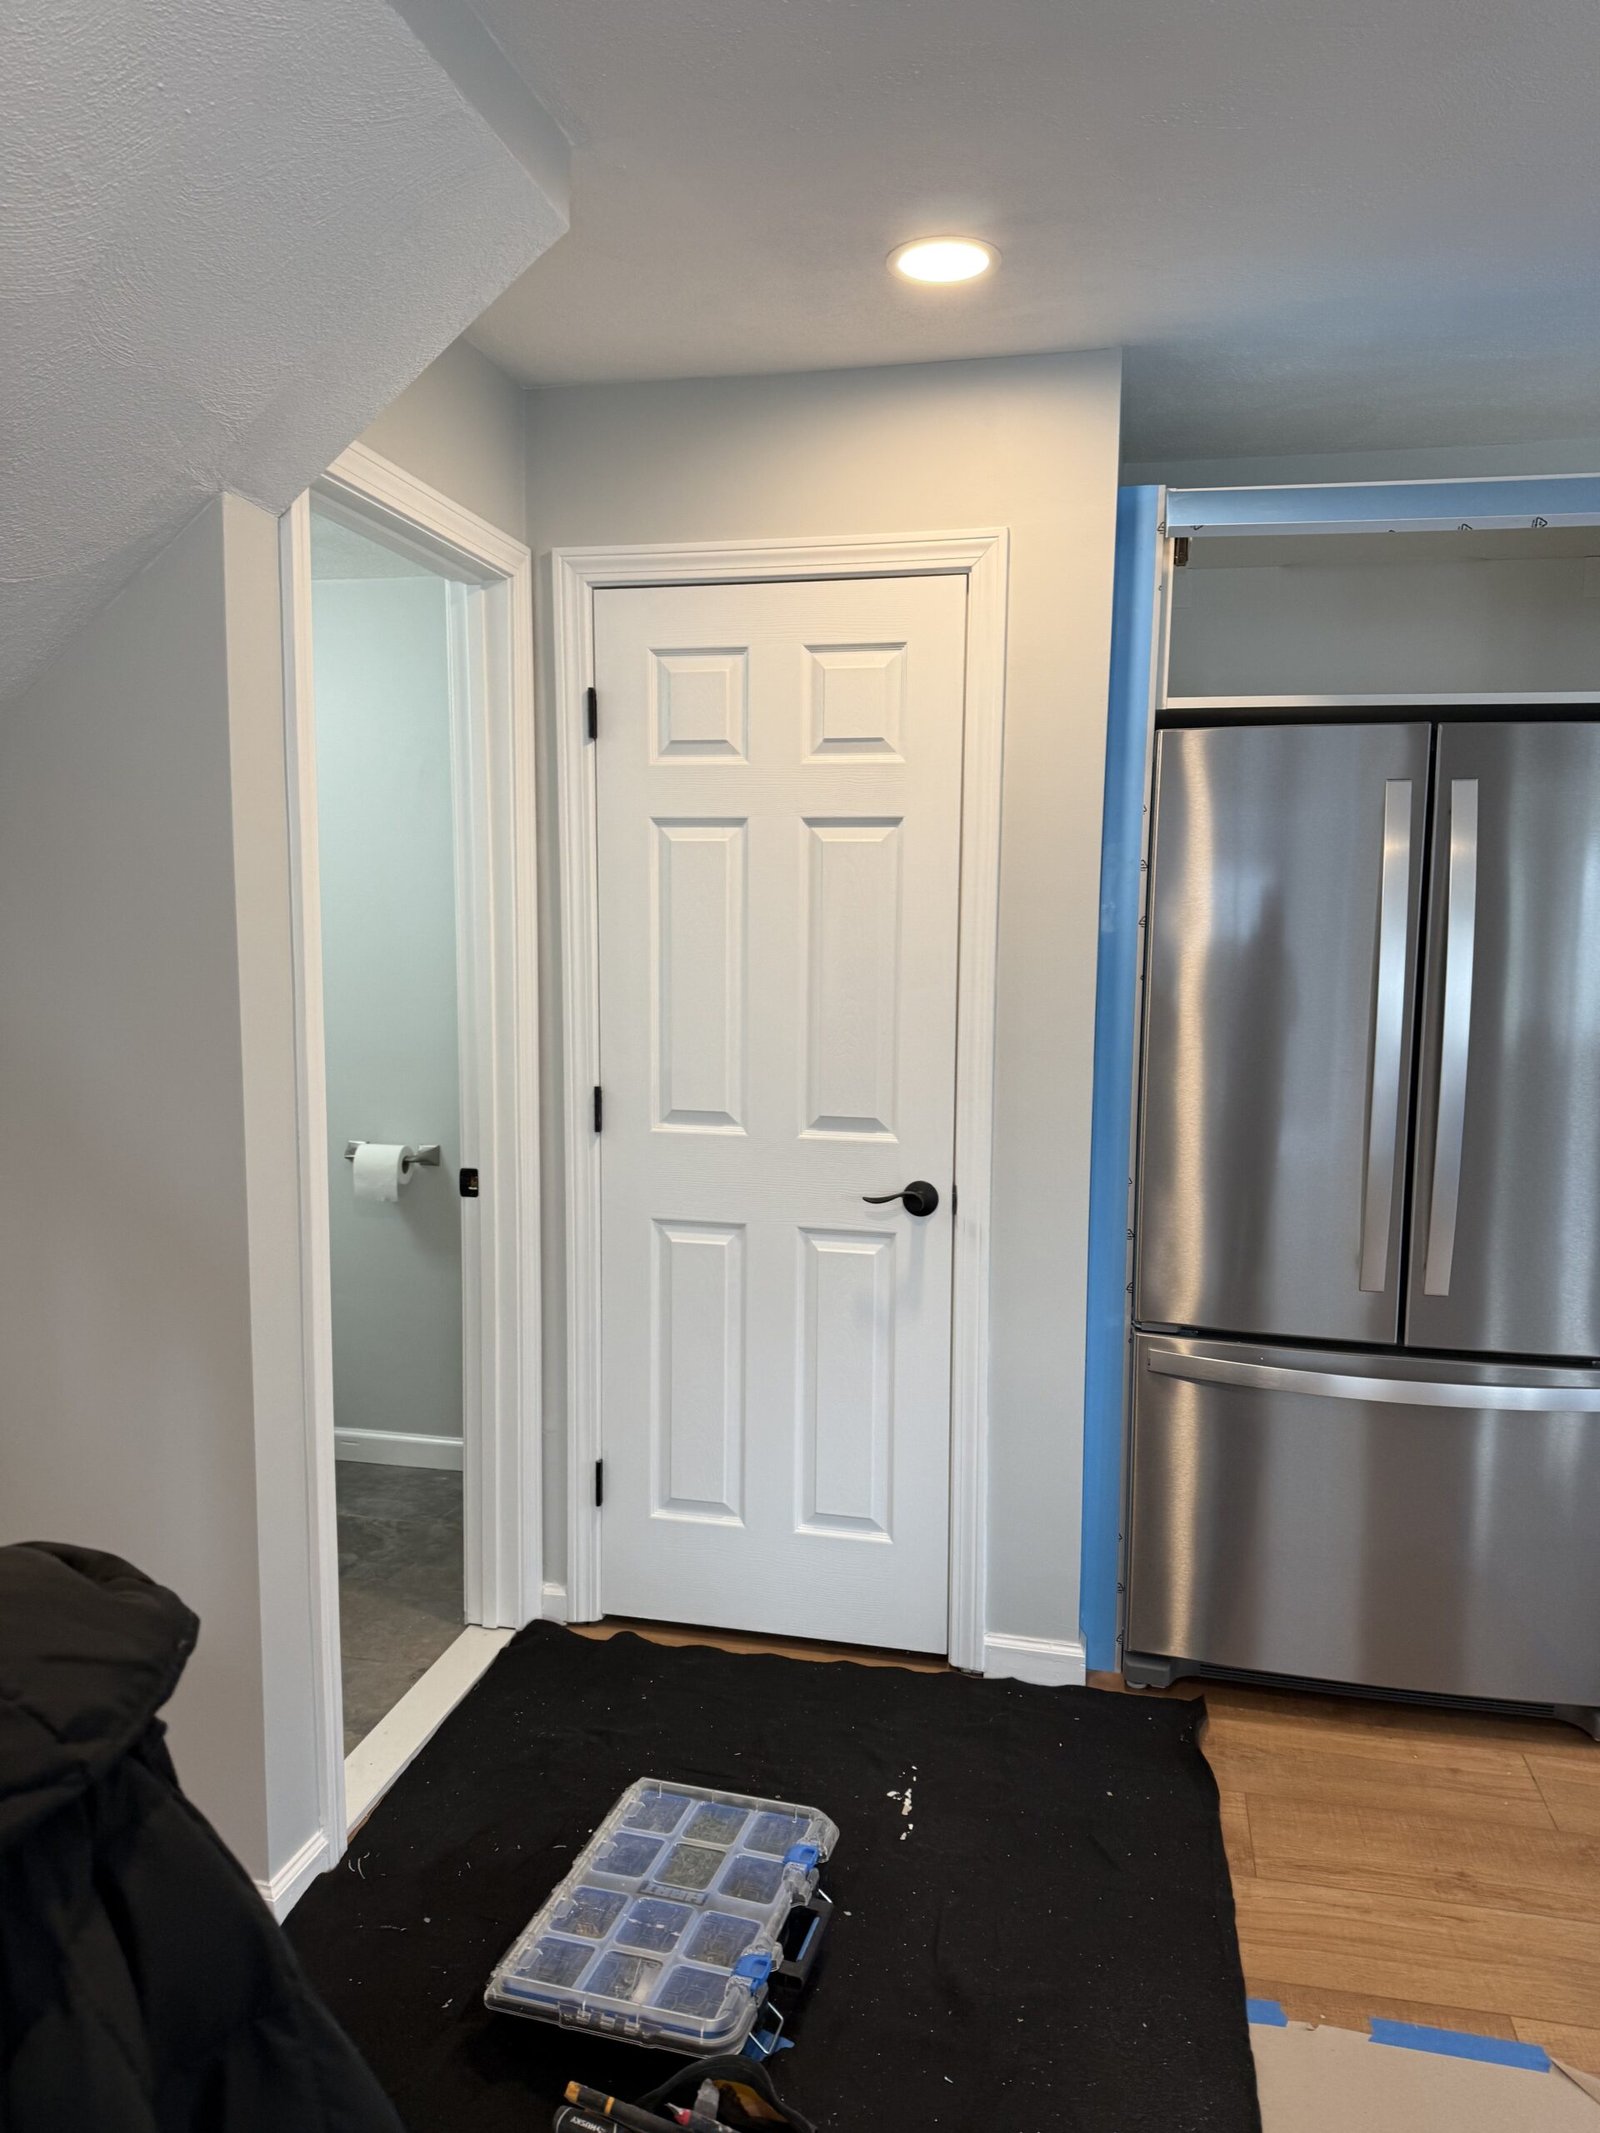
A successful kitchen renovation has to connect cleanly to the rest of the house. The refrigerator wall, adjacent doors, stair opening, casing, paint, and floor transitions were finished so the new kitchen feels established rather than inserted.
The surviving photographs document the project at the near-completion and punch-list stage. They do not include a separate before or demolition series, so this page focuses on the finished layout and the installation details that are actually visible.
Clean Transitions Into the Hallway, Doors & Adjoining Rooms — Project Photographs
2 photographs
The NERP standard
Kitchen Work Coordinated From Layout Through Final Fit and Finish
Cabinetry and counters only look right when the room, appliance openings, sink location, lighting, doors, trim, and adjoining surfaces are considered together.
Igor personally quotes and plans each project, works on site, and inspects every stage. Licensed construction supervisors provide required oversight and permitting, while licensed electricians and plumbers handle their regulated trades and permits.
Igor remains involved from the first estimate through installation and the final walkthrough.
Cabinet openings, counters, sink placement, appliances, doors, and surrounding trim are checked as one connected layout.
Licensed electricians and plumbers complete their regulated work and permit responsibilities when required by the kitchen scope.
NERP is Massachusetts HIC registered under #213344 and carries liability and workers’ compensation coverage.
Salem overview
Home Renovation in Salem
Explore NERP’s Salem renovation work, including this glossy white kitchen and the separate three-story whole-house project.
Explore Salem Projects →
Kitchen services
Kitchen Remodeling on the North Shore
Complete kitchens, layout work, cabinetry, islands, counters, lighting, plumbing, electrical coordination, appliances, and finish carpentry.
Explore Kitchen Services →
Three-story project
Full-Gut Home Renovation in Salem
See the separate three-story renovation with three bathrooms, garage work, bedrooms, flooring, systems, and whole-house finishes.
View the Full-Gut Project →Planning a kitchen in Salem?
Build the Layout, Storage, and Finish Details Around the Way You Actually Use the Room.
Send photographs, approximate dimensions, and your goals for straightforward guidance and a realistic preliminary ballpark.